Should You Trust Meta Ads Opportunity Score?
If you’ve been running ads on Meta, you’ve likely noticed a speedometer-like meter inside Ads Manager that subtly nudges you to think “Something is incomplete. I should fix this.”
That speedometer is called the Meta Opportunity Score.
What Is Opportunity Score in Meta Ads?
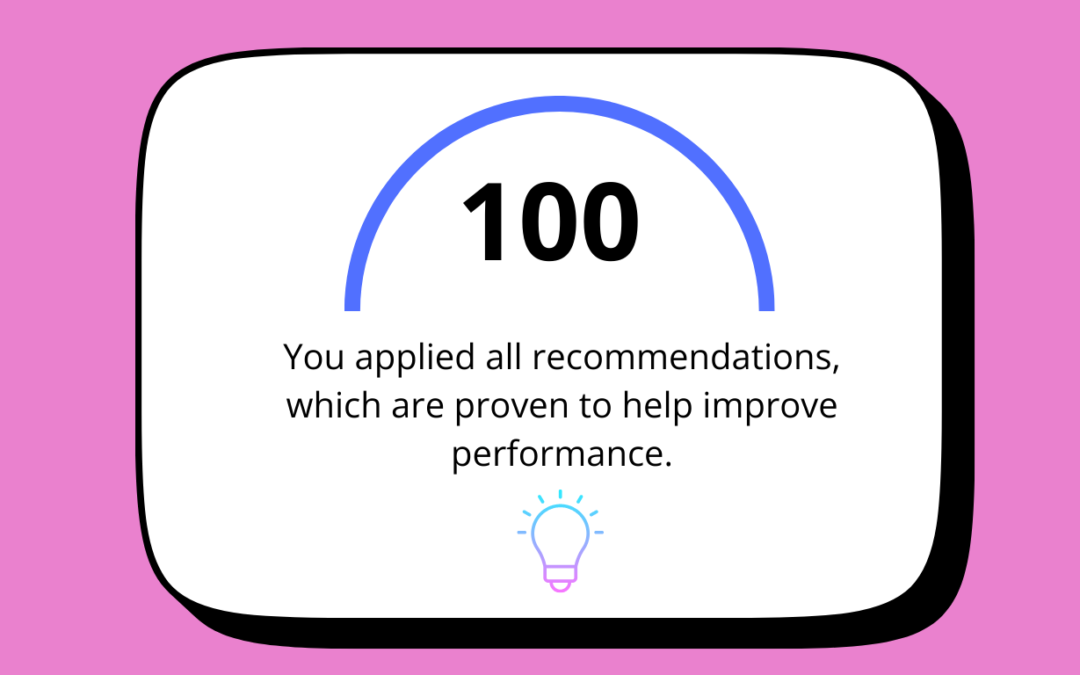
Opportunity Score is a 0–100 rating shown at the account, campaign, or ad set level inside Meta Ads Manager.
It reflects how many of Meta’s automated recommendations you’ve applied, not how well your ads are actually performing.
In simple terms:
Higher score = you followed more of Meta’s suggestions
That’s it.
It does not directly measure:
ROAS
Cost per lead
Quality of leads
Business impact
When Did Meta Introduce Opportunity Score?
Meta began rolling out Opportunity Score globally in late 2023, with wider adoption across ad accounts throughout 2024.
Its arrival aligns closely with Meta’s broader push toward:
Automation
AI-led optimization
Reduced manual control
This includes features like:
Advantage+ Shopping Campaigns
Advantage+ Placements
Advantage+ Creative
Automated budget and bidding
Opportunity Score is essentially the compliance meter for this new ecosystem.
What Is the Purpose of Opportunity Score?
From Meta’s perspective, the purpose is clear.
1. Push Advertisers Toward Automation
Meta’s AI Andromeda works best when it has:
Fewer restrictions
Broader audiences
Flexible budgets
Automatic placements
Opportunity Score nudges advertisers to remove friction.
2. Simplify Ads Manager for Non-Experts
Not every advertiser is a performance marketer.
For small businesses and beginners, Opportunity Score acts like:
“Do these things and your ads will probably improve.”
It’s designed to reduce decision fatigue, not replace strategy.
3. Standardise “Best Practices” at Scale
Meta cannot audit your funnel, sales team, or business model.
So instead, it evaluates:
Settings
Structures
Automation adoption
Opportunity Score is Meta’s version of best practice — not yours.
What Recommendations Affect Opportunity Score?
Common suggestions include:
Turning on Advantage+ placements
Broadening your audience
Increasing budgets
Using campaign budget optimisation
Adding more creatives
Enabling Advantage+ Creative
Switching bidding strategies
Important detail:
Meta does not verify whether these changes improved your results — only that you applied them.
Is Opportunity Score a Performance Metric?
No. Absolutely not.
Opportunity Score:
Is not predictive
Is not outcome-based
Is not industry-specific
Two accounts can have:
Same score
Same spend
Completely different results
A campaign with 60 Opportunity Score can outperform one with 95.
Should You Care About Opportunity Score?
Yes but don’t worship it.
Opportunity Score is useful only as a diagnostic tool, not a decision-maker.
You should care about it when:
You’re new to Meta Ads
You want to double-check missed setup basics
You’re scaling simple lead-gen campaigns
You’re auditing junior-managed accounts
You should ignore or challenge it when:
You have a proven structure that works
You manage regulated or niche audiences
You optimise for lead quality, not volume
You’re running budget-sensitive campaigns
The Hidden Risk of Blindly Chasing 100
Many advertisers fall into this trap:
“Let’s get the Opportunity Score to 100.”
Here’s what can go wrong:
Budgets increase without conversion proof
Audiences go too broad too fast
Creative testing becomes uncontrolled
Cost per result rises
Lead quality drops
A high Opportunity Score with poor business results is still a failure.
How Smart Marketers Actually Use Opportunity Score
The score should be treated as a suggestion list, not a command. The best strategic approach is to review these recommendation and assess whether it align with your business goals? Test new settings only if you have the budget to do so but ignore anything that doesn’t serve your business.
Is Opportunity Score Worth Giving Importance To?
Yes Opportunity Score matters, but only in context. It reflects Meta’s preferred setup, helps beginners spot missed basics, and highlights automation options but it is not a success indicator, a replacement for analysis, or a guarantee of better performance. Your real scorecard will always be cost per lead, conversion quality, revenue, and long-term outcomes. Meta optimises for platform efficiency; you must optimise for business results and the two don’t always align.
