
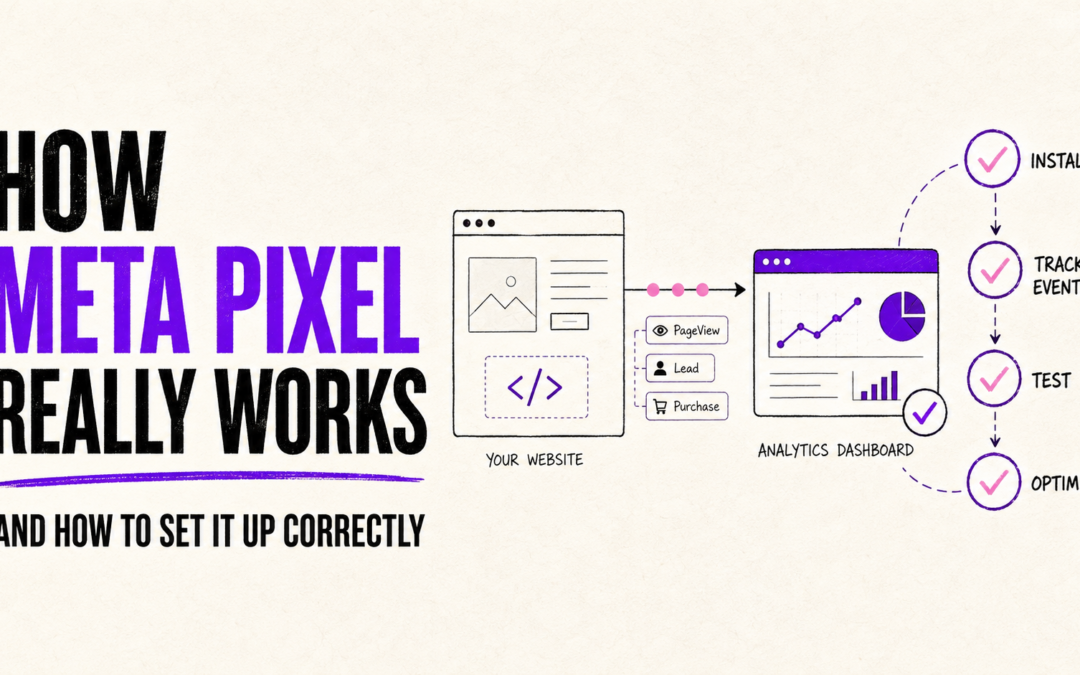
Imagine you have a little robot friend who sits quietly on your website. Every time someone visits your site, clicks a button, or buys something, your robot friend waves a little flag and tells Meta, “Hey! Someone just did this!” That little robot friend is called the Meta Pixel.
This guide will walk you through what it is, how to set it up, how to check if your robot friend is awake and working, what usually goes wrong, and which “flags” (events) matter most.
What Is Meta Pixel and How Does It Work
Think of your website like a big playground. People come in through the gate, walk around, look at toys, maybe pick one up, and some of them take a toy home (that’s a purchase!).
The Meta Pixel is like a friendly watcher standing at the gate with a notebook. Every time something important happens, the watcher writes it down and mails a little note to Meta. These notes are called events.
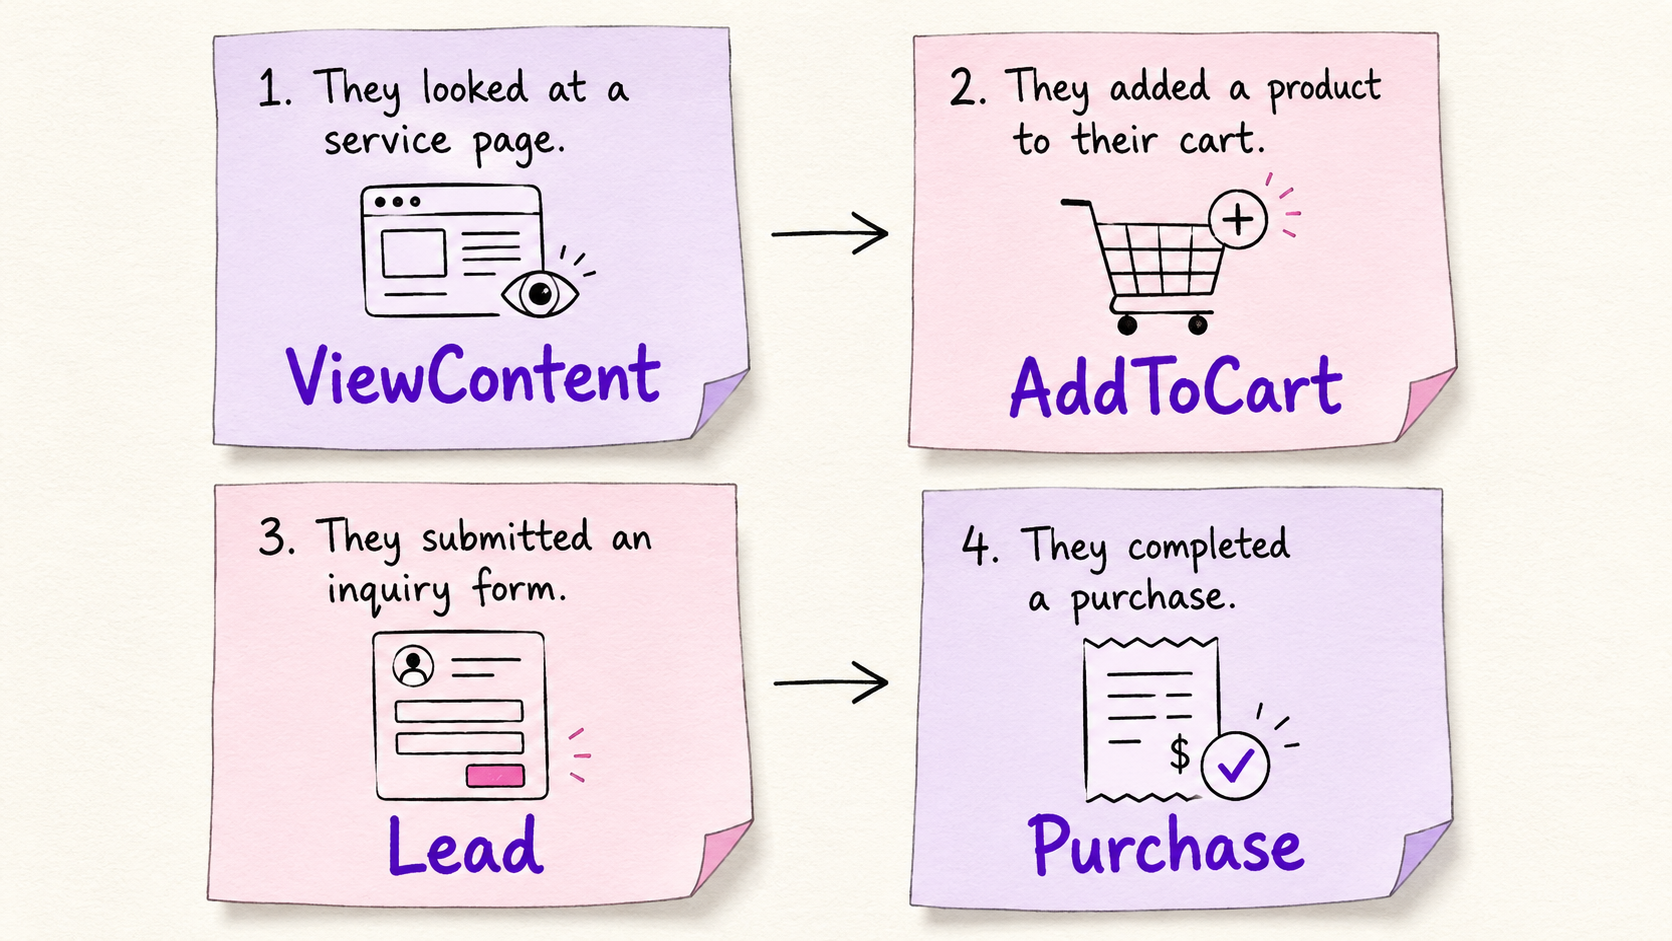
Here’s how the whole thing works, step by step:
- Someone clicks on your Facebook or Instagram ad and lands on your website.
- The Pixel wakes up right away and writes down “Someone came in!”, this automatic note is called
PageView. - As the visitor does more things, the Pixel writes a new note each time, and each note has its own name:
- Looks at a product →
ViewContent - Puts something in their cart →
AddToCart - Starts checking out →
InitiateCheckout - Fills out a form →
Lead - Buys something →
Purchase
- Looks at a product →
- Meta reads all these notes and learns things like: “Oh, this kind of person likes to buy sneakers!” or “This person filled out a form after seeing this exact ad.”
- Meta then uses what it learned to show your ads to more people who are likely to do the same helpful things, like buying (
Purchase), or signing up (Lead/CompleteRegistration).
Peek at the code
Here’s the little snippet that wakes the Pixel up on every page (this goes in the <head> of your website):
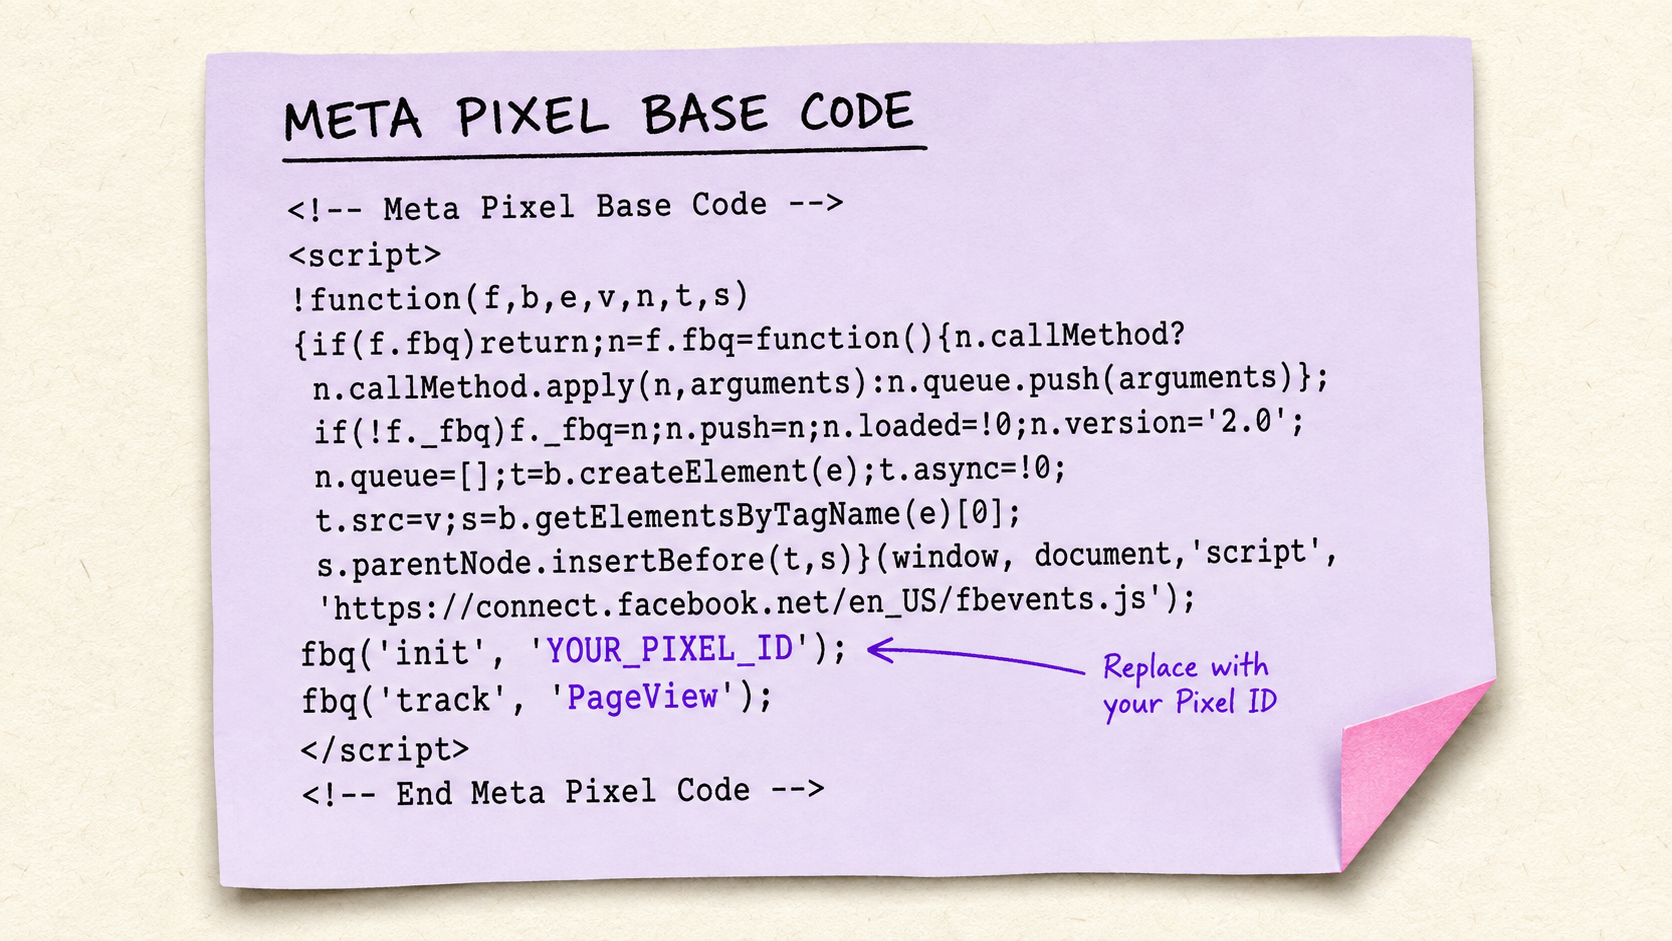
fbq('track', 'PageView') is the very first note the Pixel writes, “someone’s here!” Everything else builds on top of this.
What Information Does the Pixel Send
A basic event tells Meta what happened. Event parameters add useful details about it.
For example, a purchase event might contain:
- Event name
- Product ID
- Product name
- Order value
- Currency
- Number of items
- Page URL
- Time of the event
Conceptually, it could look like this:
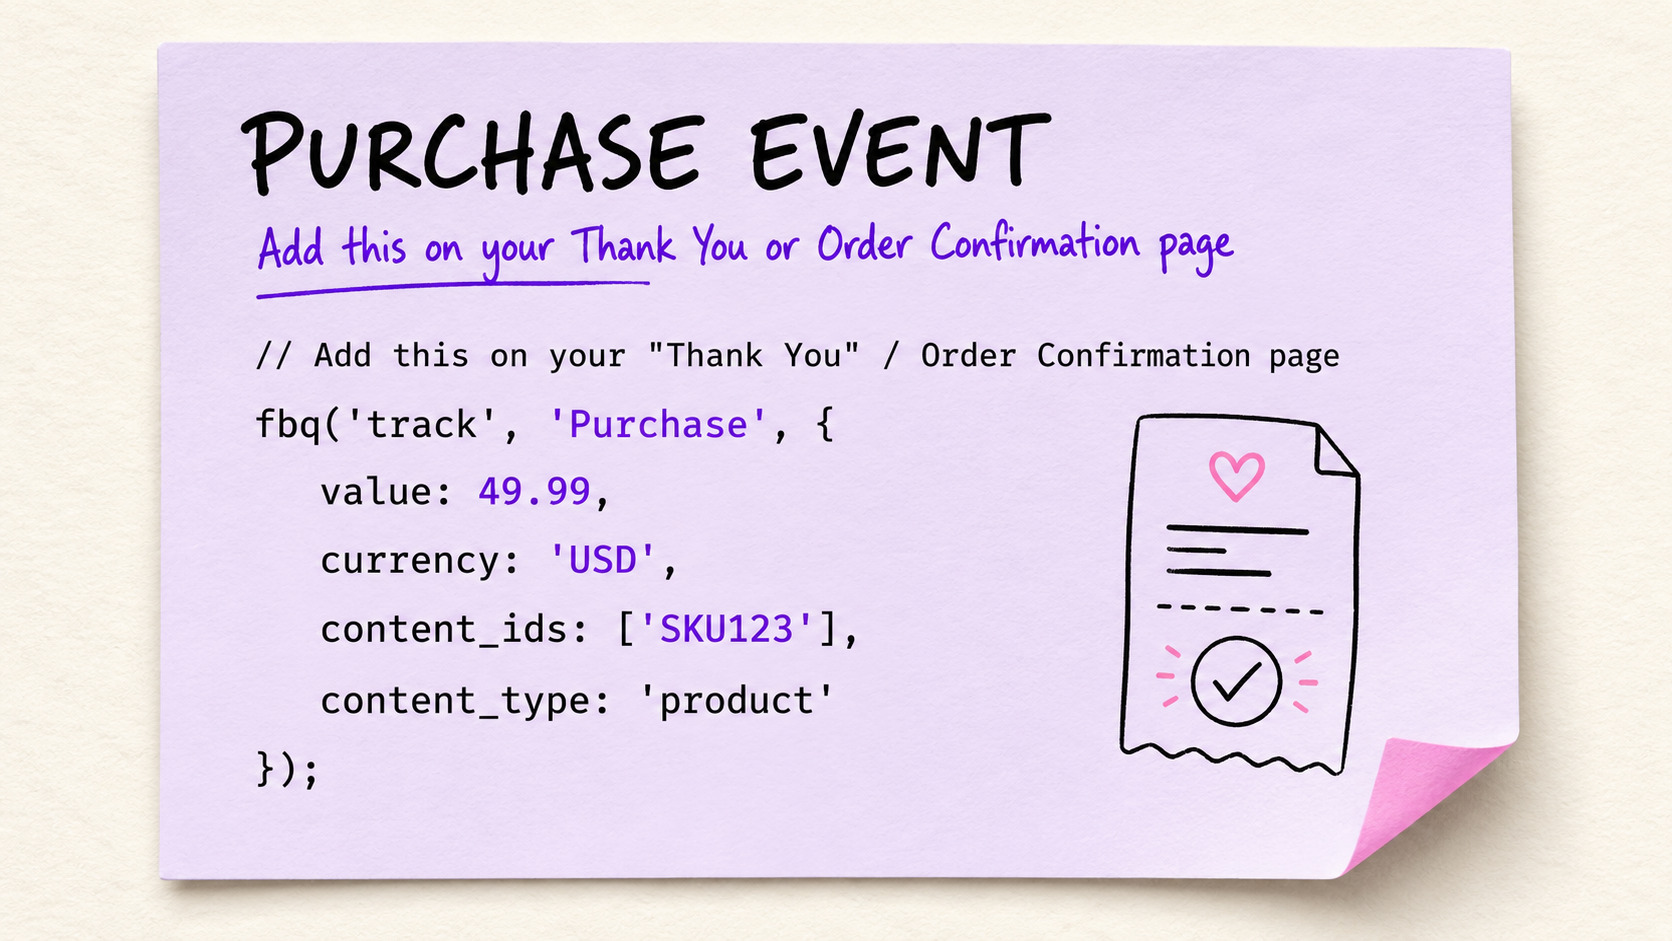
fbq('track', 'Purchase', {
  value: 12500.00,
  currency: 'PKR'
});
This tells Meta that a purchase occurred with a value of PKR 12,500.
Without the value and currency parameters, Meta may know that a purchase happened but may not be able to report revenue or optimize properly for conversion value.
Only send information that is permitted under Meta’s terms, your privacy policy and applicable data-protection rules. Do not place sensitive or personally identifiable information in event names, URLs or unrestricted parameters.
How to Install Meta Pixel on Your Website
There are three common ways to install Meta Pixel on a website:
Option A: Put the code in yourself
- Go to Meta Events Manager and create a new Pixel.
- Copy the little code snippet Meta gives you (it looks like the one above).
- Paste it into the
<head>section of every page on your website. - Add small extra bits of code on special pages, like the “thank you for your order” page, so the Pixel knows exactly when to write down “a purchase happened!”
Option B: Partner Integration
If your store is built on Shopify, WooCommerce, WordPress, or Wix, you usually just paste your Pixel ID into a settings box, and the platform quietly handles the rest, writing down page views, cart adds, and purchases automatically. This is the friendliest option if you don’t love writing code.
Option C : Google Tag Manager (GTM)
GTM gives you a universal remote for your website tracking, saving you from ever having to edit live site code again.
Base Layer: Add your Meta Pixel code to a Custom HTML tag set to fire on All Pages.
Action Triggers: Set individual event tags (Lead, Purchase) that only fire when specific conversion actions or thank-you pages load.
Dry Run: Use Preview Mode to test your own clicks and forms live, making sure everything reports cleanly before you hit publish.
How to Check If Meta Pixel Is Working Correctly
Never turn on paid ads assuming your tracking works on faith. A broken pixel means wasted budget and missed conversions.
Use this simple three-step inspection before spending a single dollar:
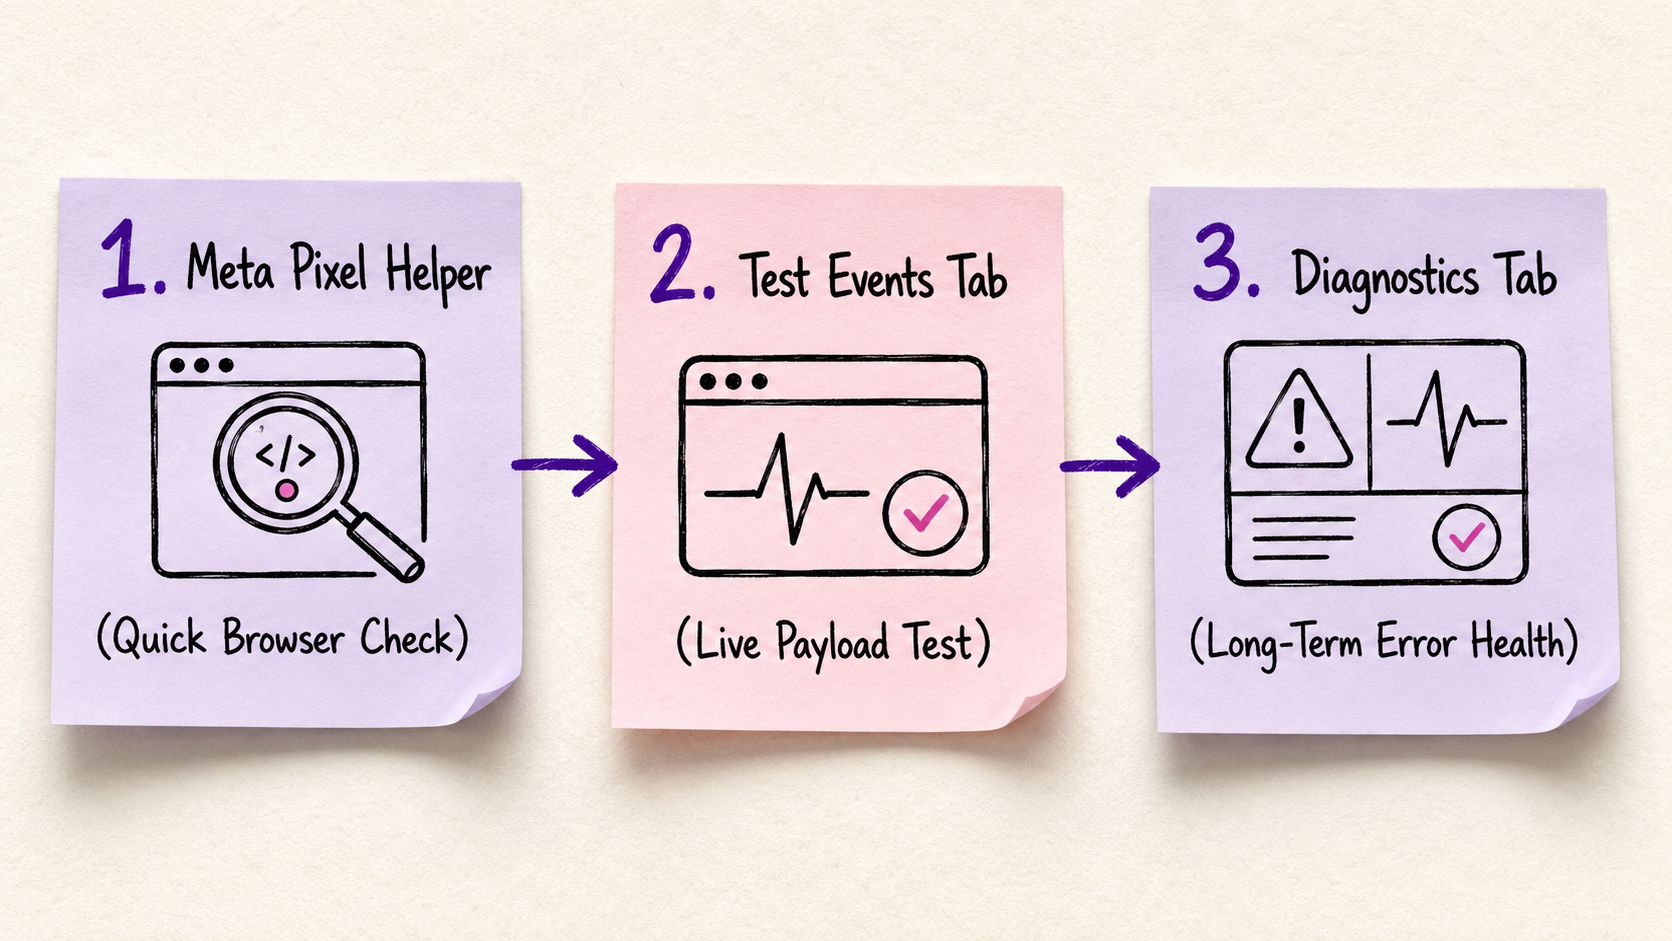
Step 1: The Quick Scan (Meta Pixel Helper Extension)
The Meta Pixel Helper is a free Chrome extension that acts like a digital stethoscope for your website.
How to use it: Install the extension, open your website in Chrome, and click the extension icon in your browser toolbar.
What to look for:
Green badge & checkmark: Your pixel is installed properly and sending data.
Yellow warning: The event fired, but with minor issues (e.g., missing currency parameters or delayed firing).
Red error: The pixel failed entirely (e.g., duplicated base code or invalid dataset ID).
Quick tip: The extension only tells you that your browser sent a signal, it doesn’t guarantee that Meta accepted or processed it on the backend. That’s why you always do Step 2.
Step 1: The Quick Scan (Meta Pixel Helper Extension)
The Meta Pixel Helper is a free Chrome extension that acts like a digital stethoscope for your website.
How to use it: Install the extension, open your website in Chrome, and click the extension icon in your browser toolbar.
What to look for:
Green badge & checkmark: Your pixel is installed properly and sending data.
Yellow warning: The event fired, but with minor issues (e.g., missing currency parameters or delayed firing).
Red error: The pixel failed entirely (e.g., duplicated base code or invalid dataset ID).
Quick tip: The extension only tells you that your browser sent a signal, it doesn’t guarantee that Meta accepted or processed it on the backend. That’s why you always do Step 2.
Most Common Meta Pixel Errors and How to Fix Them
Even the best watcher can get confused sometimes. Here are the most common hiccups and how to fix each one, in plain language.
| What went wrong | Why it happens | How to fix it |
|---|---|---|
| No Pixel found at all | The code wasn’t pasted in, or a cookie pop-up is blocking it | Double check the code is in the <head> of every page, and that cookie settings aren’t silently blocking it |
| The same event gets counted twice | The Pixel is installed in two places at once (like theme + GTM) | Pick one installation method only, and use a shared eventID so duplicates get ignored |
| Purchase amount is missing or wrong | The purchase note fires without a price, or fires too early (like on the cart page instead of the “thank you” page) | Only fire Purchase on the true order-confirmation page, and always include value and currency |
| Events fire at the wrong moment | A “Lead” note gets written the second the page loads, instead of after someone actually submits the form | Attach the tracking code to the actual completed action, like a successful form submit, not just a page visit |
| Low match quality score | Not enough personal details (like hashed email) are being sent along with events | Turn on Advanced Matching, and send hashed email/phone where possible |
| Pixel Helper looks fine, but Events Manager shows nothing | The note fired in the browser but got lost before reaching Meta (privacy blockers, ad blockers) | Don’t trust Pixel Helper alone, check Test Events too, and set up the Conversions API as a backup mail carrier |
| Conversions suddenly disappear | A site update, app disconnect, or theme change accidentally removed the Pixel code | Recheck the Pixel is still on your site after any updates, and reconnect any sales-channel apps |
| Wrong data type sent | Sending “$49.99” as text instead of a plain number | Format it correctly: value: 49.99 (a number), currency: 'USD' (a proper currency code) |
// Correct AddToCart example — clean and properly formatted
fbq('track', 'AddToCart', {
  content_ids: ['SKU123'],
  content_type: 'product',
  value: 29.99,
  currency: 'USD'
});
The single best fix for almost everything on this list? Set up the Conversions API. It’s like giving your watcher a second, more reliable mail carrier, so even if one note gets lost, the other usually gets through.
Meta Pixel Events Every Advertiser Should Track
Meta has 17 official “standard events” your watcher can write down. But you don’t need to track all 17, that would be like writing down every single thing that happens at the playground, even the boring stuff! Just pick the handful that actually matter for your business.
If you sell products online
// A visitor looks at a product
fbq(‘track’, ‘ViewContent’, {
content_ids: [‘SKU123’],
content_type: ‘product’,
value: 29.99,
currency: ‘USD’
});
// A visitor adds something to their cart
fbq(‘track’, ‘AddToCart’, {
content_ids: [‘SKU123’],
content_type: ‘product’,
value: 29.99,
currency: ‘USD’
});
// A visitor starts checking out
fbq(‘track’, ‘InitiateCheckout’, {
value: 29.99,
currency: ‘USD’,
num_items: 1
});
// A visitor enters payment details
fbq(‘track’, ‘AddPaymentInfo’);
// A visitor completes their purchase (fire this ONLY on the confirmation page)
fbq(‘track’, ‘Purchase’, {
value: 29.99,
currency: ‘USD’,
content_ids: [‘SKU123’]
});
Meta has 17 official “standard events” your watcher can write down. But you don’t need to track all 17, that would be like writing down every single thing that happens at the playground, even the boring stuff! Just pick the handful that actually matter for your business.
If you sell products online
// A visitor looks at a product
fbq(‘track’, ‘ViewContent’, {
content_ids: [‘SKU123’],
content_type: ‘product’,
value: 29.99,
currency: ‘USD’
});
// A visitor adds something to their cart
fbq(‘track’, ‘AddToCart’, {
content_ids: [‘SKU123’],
content_type: ‘product’,
value: 29.99,
currency: ‘USD’
});
// A visitor starts checking out
fbq(‘track’, ‘InitiateCheckout’, {
value: 29.99,
currency: ‘USD’,
num_items: 1
});
// A visitor enters payment details
fbq(‘track’, ‘AddPaymentInfo’);
// A visitor completes their purchase (fire this ONLY on the confirmation page)
fbq(‘track’, ‘Purchase’, {
value: 29.99,
currency: ‘USD’,
content_ids: [‘SKU123’]
});
Final Thoughts
Tracking doesn’t have to be overwhelming. The Meta Pixel is simply an observant assistant that keeps record of what is happening in your shop so you can make smarter decisions with your ad dollars.
Give that assistant clear instructions, verify they are doing the job through your diagnostics, and reinforce their notes with server-side CAPI data.
Once your data pipeline is clear, the guesswork disappears. Meta’s delivery engine gets the exact map it needs to bring you more qualified leads, real sales, and predictable returns.